Hey everyone. This is the guide for Bellona, Darmoor’s apostle who only feels alive at the edge of death. Here you’ll find the boss details, the Insane gauge, all of her attacks on Easy, Normal and Hard, the mark collection and the rewards, so you can decide if she’s really worth it.
Values use the format EasyNormalHard: the first number is for Easy, the second for Normal and the third for Hard.
01
Boss overview
Bellona is a fight with almost no map mechanics: it’s you against her. Her red attacks take a life instantly, so every hit counts.
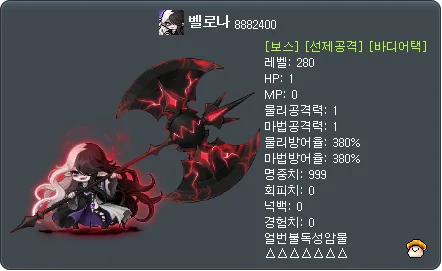
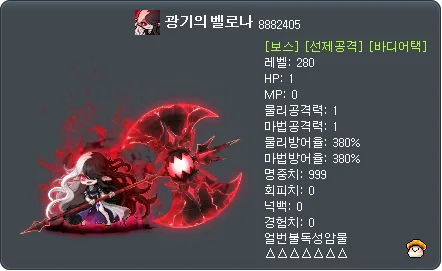
Bellona in the boss entry window
Minimum level280
Players1 to 3
Authentic Force400450550
Death Count885
To enter, you need to complete the quest [Solatum] The Truth of Solatum. The entrance is in Solatum.
Boss defense (PDR) is 380%.
To deal maximum damage, 450500600 Authentic Force is recommended.
She has two phases. Each phase has its HP bar split into 2 segments of 50%, and every segment you clear adds new patterns.
HP
Easy
Normal
Hard
Phase 1
316 trillion
1,652 trillion
5,564 trillion
Phase 2
463 trillion
2,470 trillion
8,152 trillion
How strong do you need to be?
As a reference:
Easy: between Easy Kaling and Normal Kalos.
Normal: between Normal Kaling and Chaos Kalos.
Hard: a little below Hard Baldrix.
Still, I recommend using the Maple Scouter to check your numbers.
Differences between difficulties
Easy and Normal deal the same damage and attack just as fast. The difference is that on Easy the warnings for each attack are clearer, while on Normal you have to read Bellona’s movements alone.
Hard gives you fewer lives, and some attacks come out faster.
Resistances
Bellona is immune to slow and resists Zero’s Critical Bind and Shadow Rain.
These values come from KMS and may differ in GMS.
02
Death Count and the Insane gauge
These are the two mechanics you need to understand before fighting her. The Insane gauge decides when Bellona gets aggressive, and the Death Count decides how many mistakes you can afford.
Death Count
Each player starts with 8 / 8 / 5 lives.
Every red attack that hits you takes 1 life, and you’ll see ANNIHILATION on screen.
If you reach 0, you’re removed from the fight instantly, with no revive.
Counter on Easy and NormalCounter on Hard
Losing a life in phase 1Losing a life in phase 2
Insane gauge
Normal gaugeGauge during Insane
The gauge goes from 0 to 1000. Outside Insane it rises 33 per second, so if nobody gets hit, Bellona enters Insane in about 31 seconds.
During Insane, the gauge drops 33 per second.
Every hit you take removes points from the gauge. In a party, that amount is split among the members (2 players: 1/2, 3 players: 1/3).
Attack type
Gauge reduction
Damage
Purple
8080160
Percentage of your max HP
Red
200400600
Takes 1 life
What it looks like when a red attack hits you
Mechanic
Insane mode
When the gauge reaches 1000, Bellona enters Insane. If she is in the middle of an attack, she enters once it ends.
The screen goes dark and Bellona only appears right before she attacks.
She only uses red attacks, and all of her cooldowns reset when Insane starts.
She takes 30% more final damage, so it’s the best moment for your burst.
Every attack she uses costs her some of her own HP. That segment shows up on her HP bar in a different color.
If she hits you, she recovers part of that HP: 1% per hit (2 players: 0.5%, 3 players: 0.33%). When Insane ends, the remaining damage is locked in.
Entering Insane in phase 1Entering Insane in phase 2
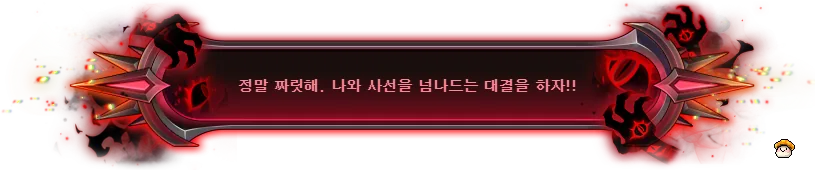
Phase 1: “This is so thrilling! Let’s fight on the edge of death!”
정말 짜릿해. 나와 사선을 넘나드는 대결을 하자!!
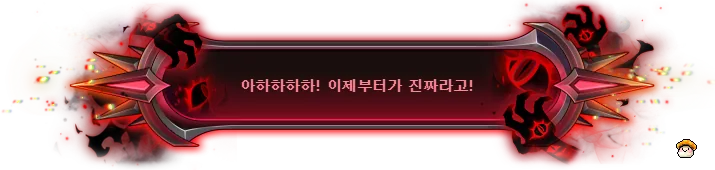
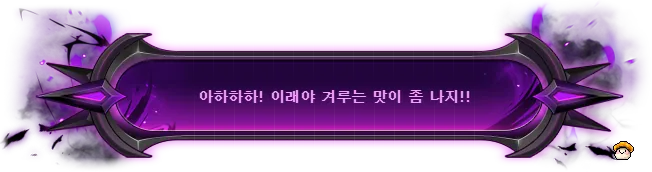
Phase 2: “Ahahahaha! Now the real fun begins!”
아하하하하! 이제부터가 진짜라고!
Entering Insane in a real fight
HP bar: the different-colored segment is her self-damage
HP bar during Insane
Mechanic
Leaving Insane and recovering a life
Insane ends when the gauge goes back to 0. If she is in the middle of an attack, it ends once she finishes.
If you get through the whole Insane without taking a single hit (mark collection included), you recover 1 life. This is individual: each player recovers it on their own.
End of Insane in phase 1End of Insane in phase 2
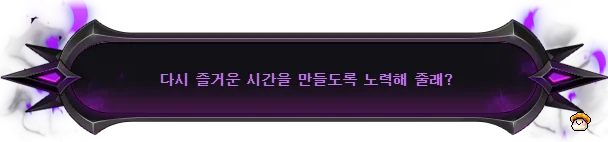
Phase 1: “Will you try to make it fun again?”
다시 즐거운 시간을 만들도록 노력해 줄래?
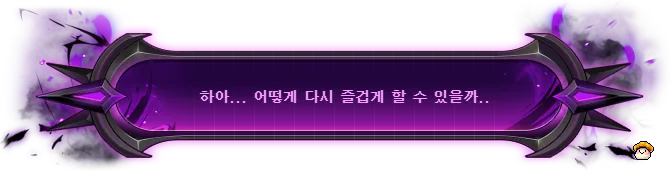
Phase 2: “Haa... how can I make this fun again...?”
하아... 어떻게 다시 즐겁게 할 수 있을까..
Message when you recover the life
Tips for managing the gauge
When you bind Bellona outside the frenzy, she switches to the next state right away: from normal to Insane, or from Insane to normal. Use it to line up Insane with your burst.
During Insane, every hit you take gives Bellona HP back. Dodging well is also dealing damage.
In a run close to the minimum damage, keeping Bellona in Insane as long as possible adds up a lot, because her self-damage stacks.
03
Phases
The fight has two phases, and in the second one Bellona attacks much faster. Some attacks change their warnings or don’t show them at all.
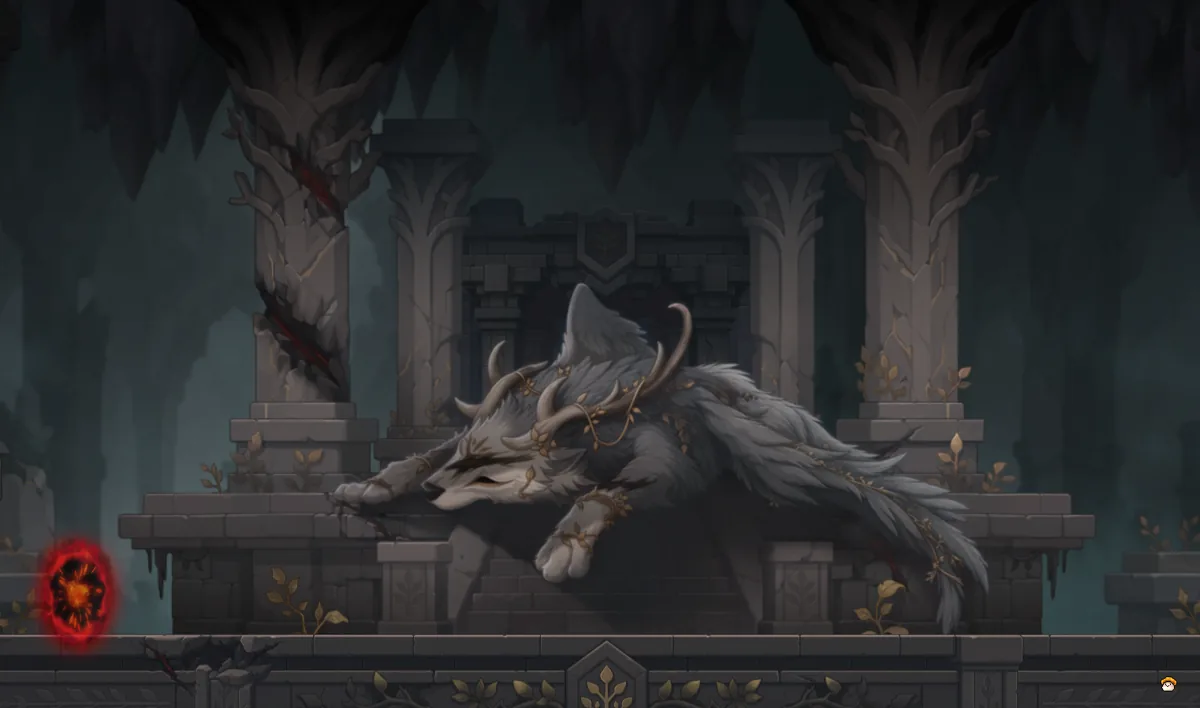
Phase 1 · Temple of Tenea
Phase 1 mapBellona in phase 1
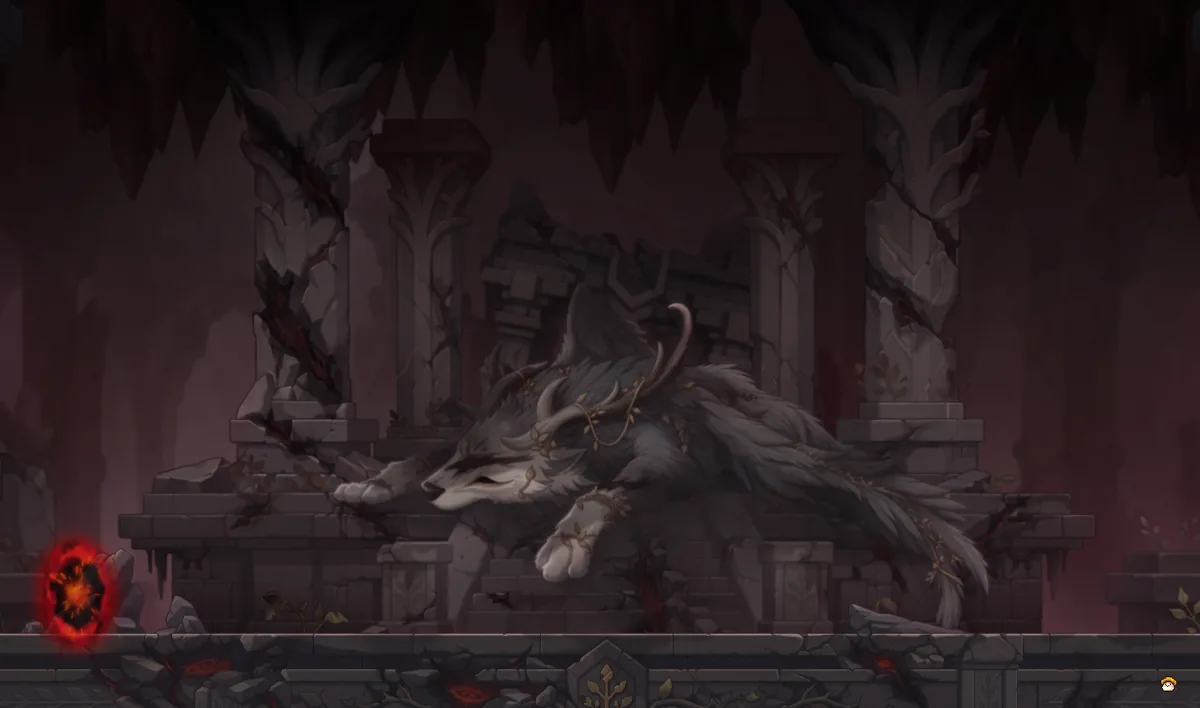
Phase 2 · Cursed Temple of Tenea
Phase 2 mapBellona of Madness in phase 2
Red attack
Opening attack
Death Count
−1
Bellona attacks as she appears at the start of each phase. Her entrance animation also deals damage.
In phase 1, players spawn on the right and she attacks the left side of the screen.
In phase 2 she hits 3 times, so if you stay close you can lose up to 2 lives. Binding her during the entrance cancels it.
How to dodge it: Get away from where Bellona lands as soon as each phase starts.
If an attack doesn’t list a cooldown, it is 3 s / 3 s / 1 s.
04
Purple attacks
She only uses these outside Insane. Each hit lowers the gauge by 8080160 and deals damage based on your max HP.
Mechanic
Teleport
Cooldown
5 s5 s3 s
If nobody is near her, Bellona teleports next to a random player. It deals no damage.
Phase 1Phase 2
Purple attack
Axe Swing
Insane gauge
−80−80−160
Damage phase 1
35%40%45% HP
Damage phase 2
40%40%45% HP
Cooldown
5 s5 s3 s
Bellona spins her axe and hits everything around her.
How to dodge it: Stand on top of Bellona. If you overlap with her, the swing doesn’t hit you.
Phase 1Phase 1 · rangePhase 2Phase 2 · range
Phase 2: eye that follows you
From phase 2, the swing also creates an eye-shaped mark that chases players and explodes on contact.
The explosion lowers the gauge by 8080160 and deals 40%40%45% of your max HP.
Chasing eyeEye · range
Purple attack
Axe Charge
Insane gauge
−80−80−160
Damage
35%35%40% HP
Cooldown phase 1
8 s5 s3 s
Bellona charges forward with her axe.
How to dodge it: Crouch.
Phase 1Phase 1 · range
Phase 2: charge and strike
After the charge, she strikes forward or backward depending on where you are.
The strike deals 40%45%45% of your max HP and knocks you back. With phase 2 at 50% HP or less, it covers much more space.
Cooldown: 5 s5 s3 s.
Phase 2 with HP above 50%
Variant 1Variant 1 · rangeVariant 2Variant 2 · range
Phase 2 with HP at 50% or less
Variant 1Variant 1 · rangeVariant 2Variant 2 · range
Purple attack
Energy Pillars
Insane gauge
−80−80−160
Damage
30%30%35% HP + airborne
Cooldown
8 s8 s5 s
Bellona raises energy pillars to the left and right, one every 0.6 seconds.
In phase 2, pillars that move from the edges toward the center are added.
With phase 2 at 50% HP or less, 4 pillars come out at once and deal 5% more damage.
How to dodge it: The pillar that comes out on top of Bellona can be dodged by jumping (more than 60 px). The third pillar hits the whole height of the map, so you can’t dodge that one in the air: get out of its way.
Phase 1Phase 1 · range
Phase 2Phase 2
Phase 2 at 50% HP or lessPhase 2 at 50% HP or less
Tips for purple attacks
Fight on top of Bellona. That way the swing doesn’t hit you and you stop her from teleporting.
Purple attacks don’t take lives, but they do lower the gauge. Avoid them so Insane comes when you want it.
05
Red attacks
She uses these both inside and outside Insane. Each hit lowers the gauge by 200400600 and takes 1 life. Their cooldowns reset when Insane starts, and on Hard, during Insane, they appear up to 0.12 s later.
Red attack
Teleport Strike
Insane gauge
−200−400−600
Death Count
−1
Cooldown
5 s5 s3 s
Self-damage in Insane
P1 −0.19% · P2 −0.12%
Bellona teleports next to a player and hits them. In phase 2 she does it faster.
How to dodge it: Crouch.
Phase 1
NormalInsaneNormal · rangeInsane · range
Phase 2
NormalInsaneNormal · rangeInsane · range
Red attack
Tracking Attack ㅡ · ㅣ · X
Insane gauge
−200−400−600
Death Count
−1
Cooldown
12 s12 s10 s
Self-damage in Insane
P1 −0.36% · P2 −0.24%
The warnings ㅡ, ㅣ and X appear above Bellona’s head, once each and in random order. Then she attacks in those shapes on your position.
In phase 1, the X only lowers the gauge by 8080160.
In phase 2 she shows all 3 warnings in a row and then attacks 3 times, without showing the range. You need to memorize the order.
If she can create a mark during Insane, she creates the Sword mark.
How to dodge it:ㅡ: crouch. ㅣ: move with a dash or a teleport at the right moment, because it aims at where you were a split second earlier. X: stand still.
Warning · phase 1Warning · phase 1 in InsaneWarning · phase 2Warning · phase 2 in Insane
Bellona does a somersault and attacks high or low.
If she can create a mark during Insane, she creates the Single-Edged Axe mark.
How to dodge it: Read her posture. If she is upright, she attacks high: crouch. If she is upside down, she attacks low: jump (40 px).
Posture right before the high attack and the low attack
Phase 1 · high attack
NormalInsaneNormal · rangeInsane · range
Phase 1 · low attack
NormalInsaneNormal · rangeInsane · range
Phase 2: somersault and drop
After the somersault, she teleports to a random spot and drops from above, first in the middle and then to the sides.
Phase 2Phase 2 · range
Red attack
Merciless Charge
From
Phase 1 at 50% HP or less
Cooldown
P1 30 s30 s27 s · P2 25 s
Self-damage in Insane
P1 −0.78% · P2 −0.72%
Bellona fills the edges of the map with masses of spirits, which limit your space, and moves to the center.
If you are standing where a mass appears, it sends you to the center and lowers the gauge by 200400600.
She picks one player as her target and randomly uses 2 (phase 1) or 3 (phase 2) of the variants below. Each one starts with a charge at the target, and on Hard she charges 0.12 s earlier.
After each variant, she picks a new random target.
If she can create a mark during Insane, she creates the Double-Edged Axe mark.
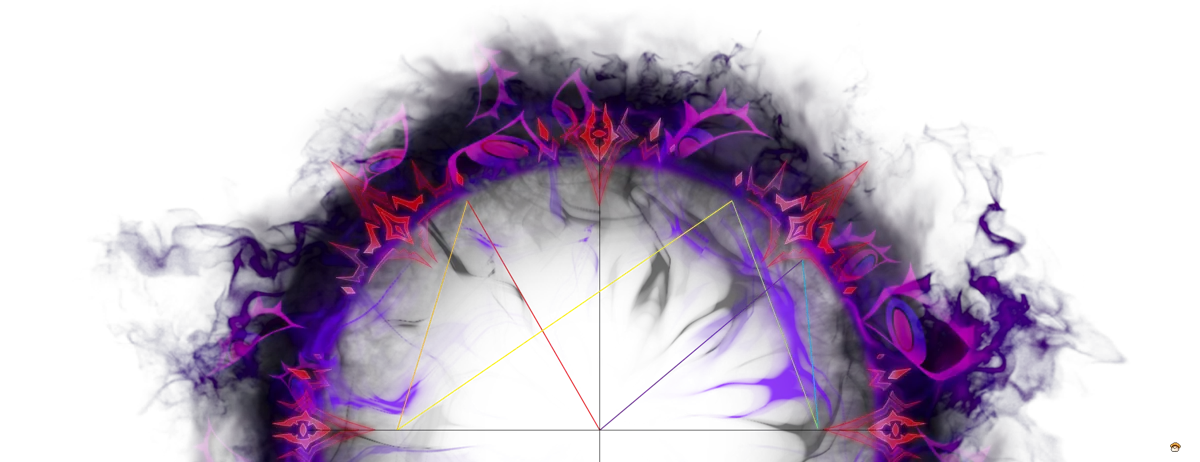
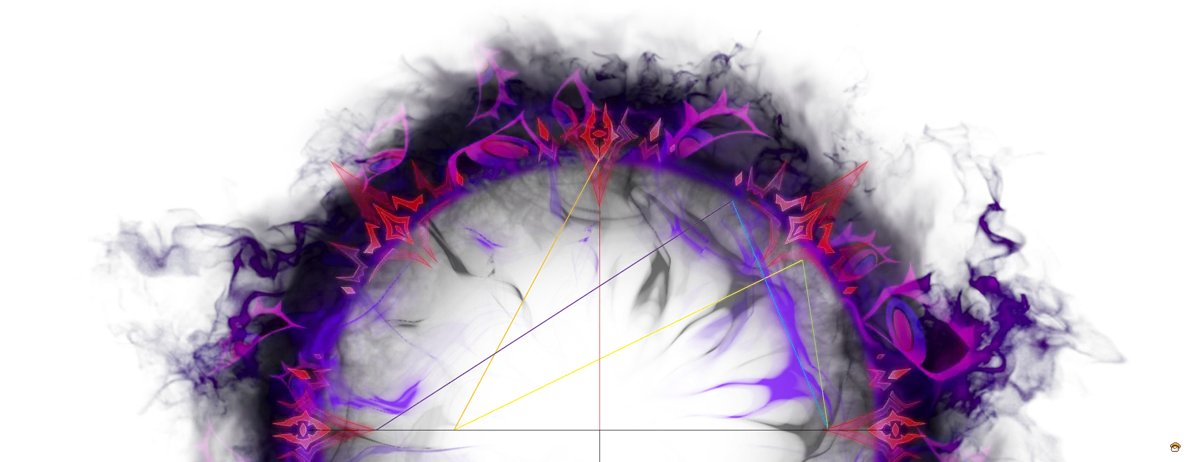
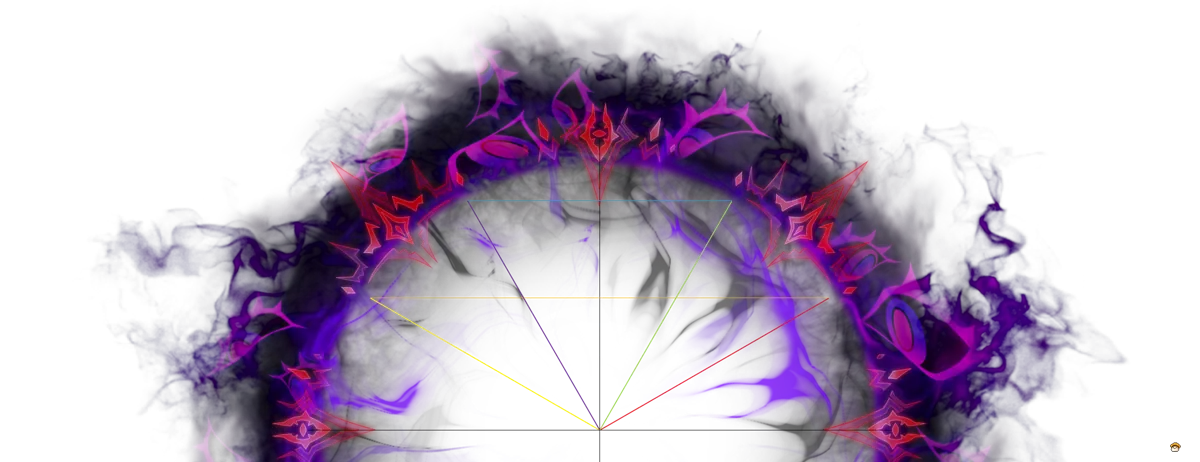
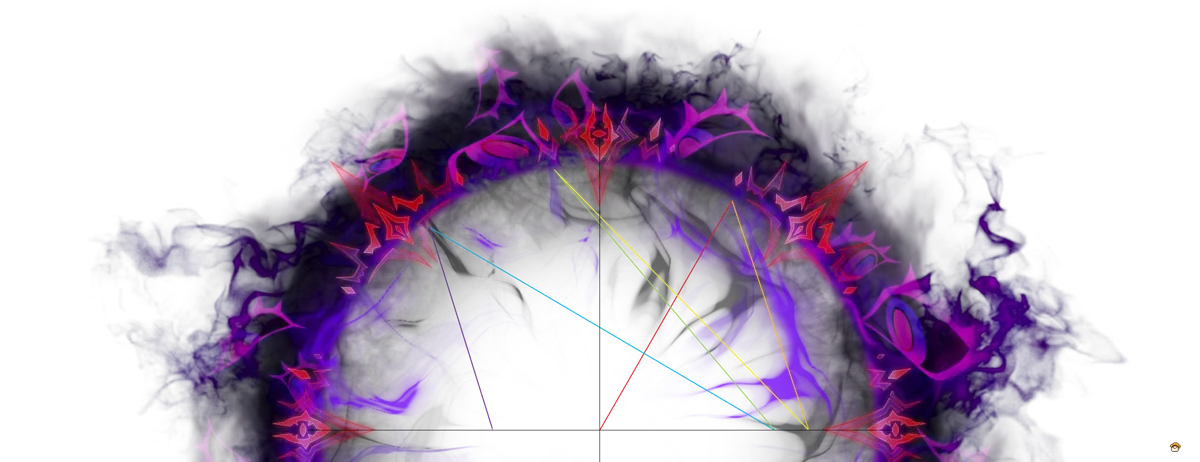
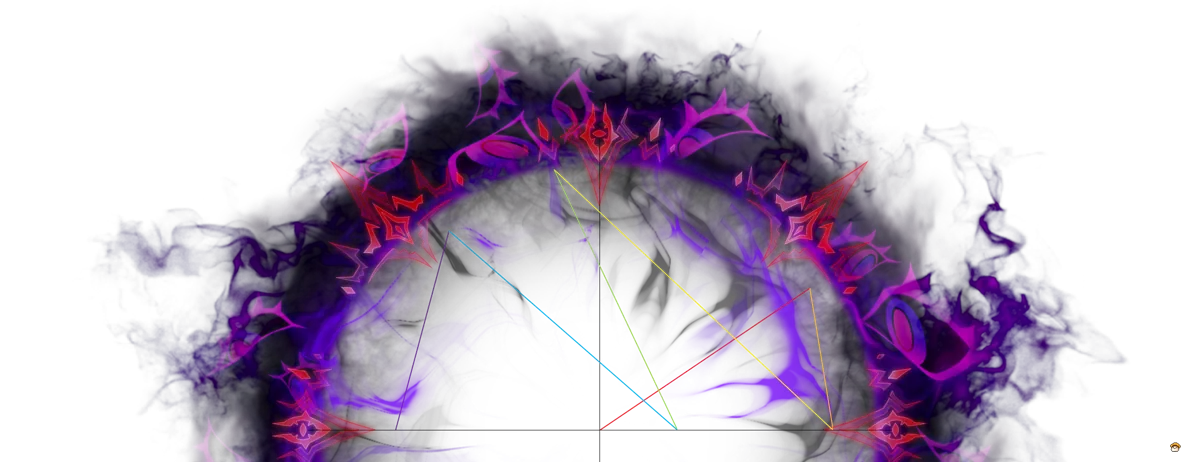
From the center of the area, an attack bounces 5 times along a random path. This happens twice.
If it hits you or you are outside the half circle, you lose a life.
With phase 2 at 50% HP or less, a ground slam is added at the end.
If she can create a mark during Insane, she creates the Staff mark.
Message when it starts
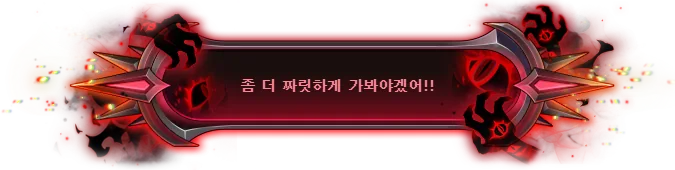
“Let’s make this even more thrilling!”
좀 더 짜릿하게 가봐야겠어!!
How to dodge it: The first hit comes from the center, so get out of there fast. Then follow the path with your eyes and move where it won’t go. The final ground slam is dodged by jumping (65 px). This is the attack most players struggle with, so practice it.
NormalInsane
Outer zoneHalf-circle edge
StartStart · InsaneRangeRange · Insane
PathPath · Insane
The pinball in a real fight
Possible paths
The colors show the order: red → orange → yellow → green → blue → purple.
Paths in a real fight
Final slamFinal slam · InsaneRangeRange · Insane
Tips for red attacks
Learn to read the somersault posture: upright, crouch; upside down, jump.
For the phase 2 tracking attack, memorize the order of the 3 warnings before she starts attacking.
During Merciless Charge, don’t stay against the edges of the map.
If the pinball gives you trouble, practice it before anything else. It’s where most lives are lost.
06
Frenzy: mark collection
This is the most dangerous attack of the fight. It builds up during Insane and triggers when Insane ends.
Sword, Staff, Single-Edged Axe and Double-Edged Axe marks
During Insane, some red attacks create 1 mark each.
Each Insane creates at most 1 mark in phase 1 and 2 in phase 2.
If there are 3 marks on the map when Insane ends, the screen turns red and the frenzy begins.
Bellona goes to each mark in this order: Sword → Staff → Single-Edged Axe → Double-Edged Axe, and uses each mark’s attack. In phase 2 she skips the wind-up animation, so it’s very fast.
During the frenzy she takes 30% more final damage. Each attack costs her 0.416% HP in phase 1 and 0.276% in phase 2.
Each hit lowers the gauge by 200400600 and takes 1 life. If she hits you, Bellona recovers HP.
On Easy and Normal, the next mark lights up to warn you.
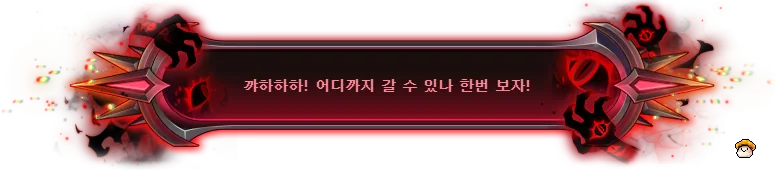
Message when it starts
“Kyahahaha! Let’s see how far you can go!”
꺄하하하! 어디까지 갈 수 있나 한번 보자!
StartNext mark warning
Start in a real fight
Bellona heading to the marks
Mark
Sword mark
Bellona attacks everything outside a triangle marked on the ground.
How to dodge it: Stay inside the triangle.
Sword mark
Phase 1Phase 2Phase 1 · rangePhase 2 · range
Screen effect
In a real fight
Mark
Staff mark
From
Phase 2
Bellona unleashes a storm that lasts about 1 second.
How to dodge it: Crouch inside the marked strip and don’t get up until it ends.
Staff mark
Phase 2Phase 2 · range
Screen effect
In a real fight
Mark
Single-Edged Axe mark
Bellona marks a player and attacks a large area around their position twice.
How to dodge it: If you get marked, move away from the party so the area doesn’t land on the others.
Every 0.48 seconds, 2 or 3 zones attack and disappear. A hand comes out of each zone, and 1 second later it strikes.
How to dodge it: Watch where the hands appear and move to the zones that have already attacked.
Double-Edged Axe mark
Phase 1Phase 2Floor zonesFloor zones · range
In a real fight
Tips for the frenzy
Learn the order: Sword, Staff, Single-Edged Axe and Double-Edged Axe. That way you know what’s coming before it happens.
Getting through the frenzy without being hit also counts toward recovering your life from Insane.
07
Rewards
Defeat in phase 1Defeat in phase 2
After defeating her, you enter the reward map, the Legacy of Solatum.
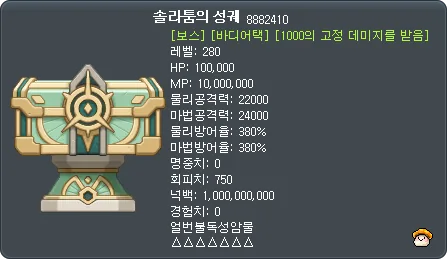
There you have to break the Ark of Solatum: level 280, 100,000 HP, and it takes 1,000 fixed damage per hit.
Reward mapArk of Solatum stats
Ark of Solatum
Reward
Easy
Normal
Hard
Bellona’s Soul Shard
Yes
Yes
Yes
Bellonaroid (android)
No
Yes
Yes
Cursed Vengeful Spirit Remnant
No
Yes
Yes
Sanguinary Spirit (Brilliant Boss Set eye accessory)
No
No
Yes
Mad Eternal Armor Box (choose Eternal gloves, shoes or cape)
No
No
Yes
Rewards are from KMS.
Is she worth it?
Yes, especially on Normal and Hard. From Normal you can already get the android, and Hard has the best part: the Sanguinary Spirit, the new Brilliant Boss Set piece, and the Eternal armor box, where you choose whether you want gloves, shoes or a cape.
With this you have everything you need to take on Bellona. Good luck on your runs, and I hope you get the best drops.
08
Credits
This guide is based on guides from the Korean community. Credit and thanks to their authors. The images and videos come from those guides, and I will replace them with my own recordings.